 Camipack
The guide
How Camipack works
Every feature, step by step — the same guides that live in the app's Help, with room to breathe. Tap targets are named exactly as you'll see them on screen.
Plan a trip, day by day
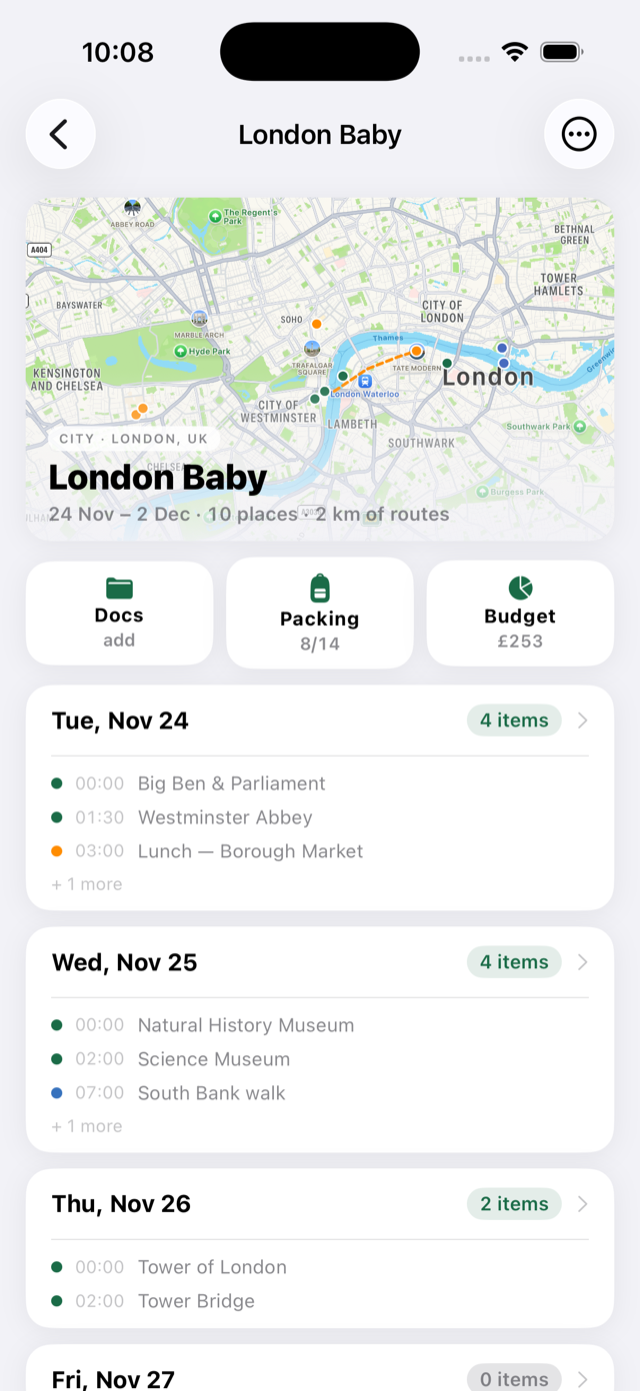
A trip is a set of days; each day is a timeline of places, meals, walks, and tickets. The map at the top is alive — it grows from a city to a whole region as your plan does.
- On the home screen, tap the green + New Trip button.
- Name the trip, type a destination and pick it from the suggestions, choose the dates, tap Create.
- Open the trip and tap any day card to plan that day.
- Tap the round green + and pick Place, Restaurant, Route, or Ticket.
- Inside an activity, tap “Find on the map” — Camipack looks the place up by name and pins it. Numbered pins match the timeline order.
Flights that look themselves up
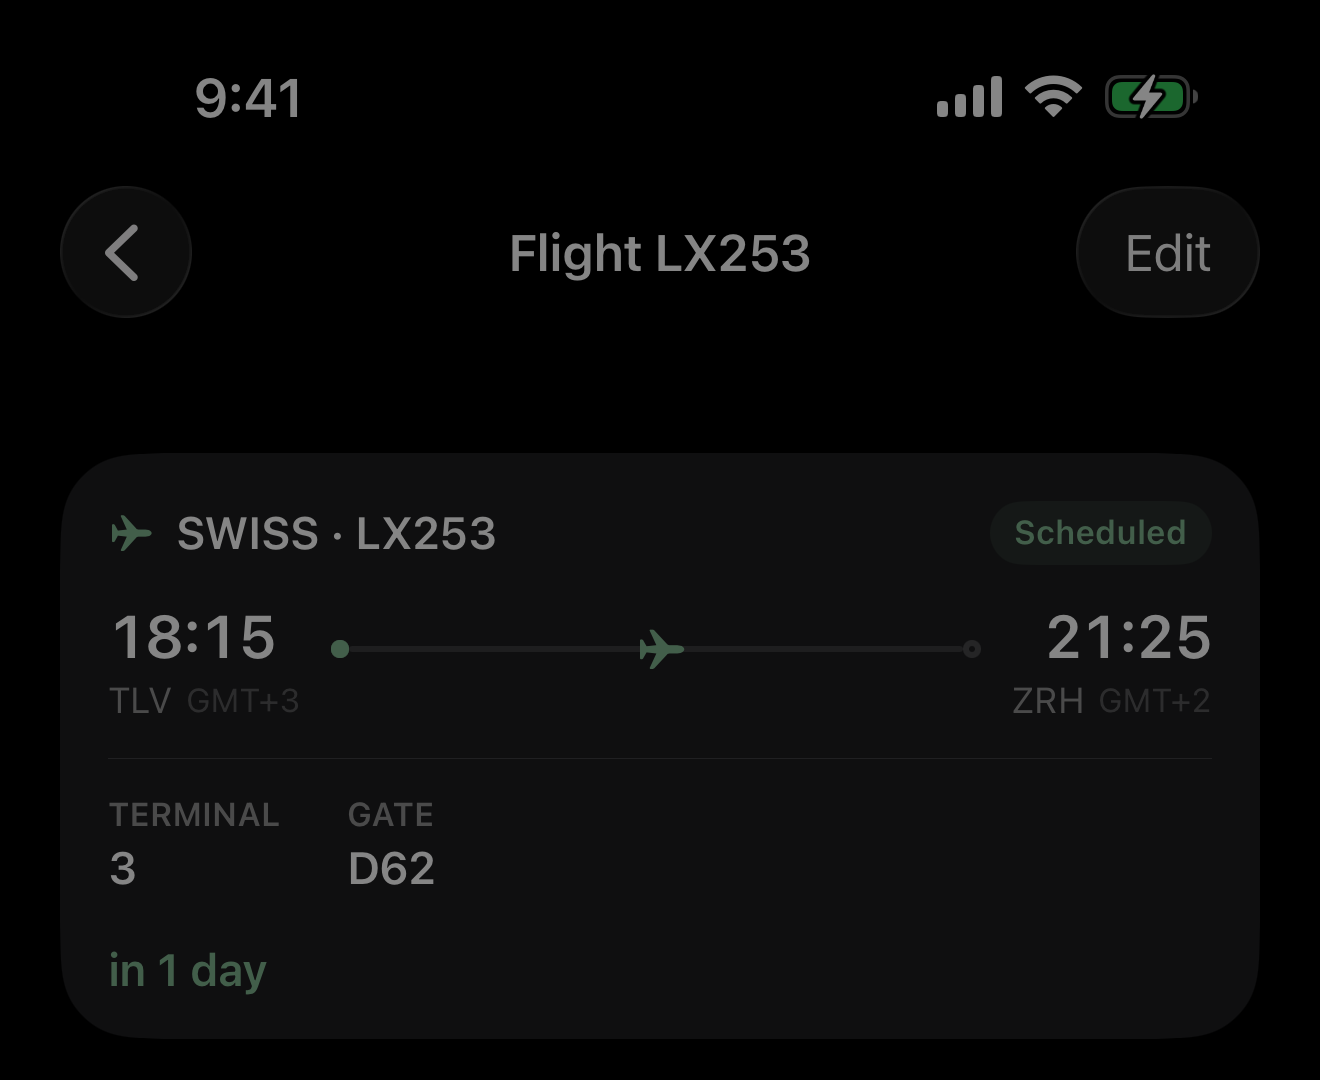
Add how you get somewhere to any day — plane, train, car, bus, ferry, bike or on foot. Import a ticket and Camipack Pro reads it: the airline, both airports, the terminal and whether it is running to time, without you typing any of it. Pick the whole family's tickets at once and it collapses four files describing the same two journeys into two, creates the travellers, and files each person's copy.
In the five hours before departure the flight appears on your Lock Screen and in the Dynamic Island, counting down — and it keeps counting once you are aboard, to landing rather than to take‑off. That works with no signal at all: the countdown runs on the phone itself. Trains, buses and ferries do the same in their own words, because a train has a platform and a ferry has a berth.
- Open a trip, tap Docs, then + and “Import tickets…” — or share a PDF straight into Camipack from Mail.
- Check what it found, then tap Add. The airports and terminal fill themselves in a moment later.
- You are reminded the evening before, and five hours before departure. Both reminders and the Lock Screen card can be switched off under the cloud button.
- Tap the Lock Screen card to open the flight: its status, directions to the terminal, and the ticket you filed.
Offline maps
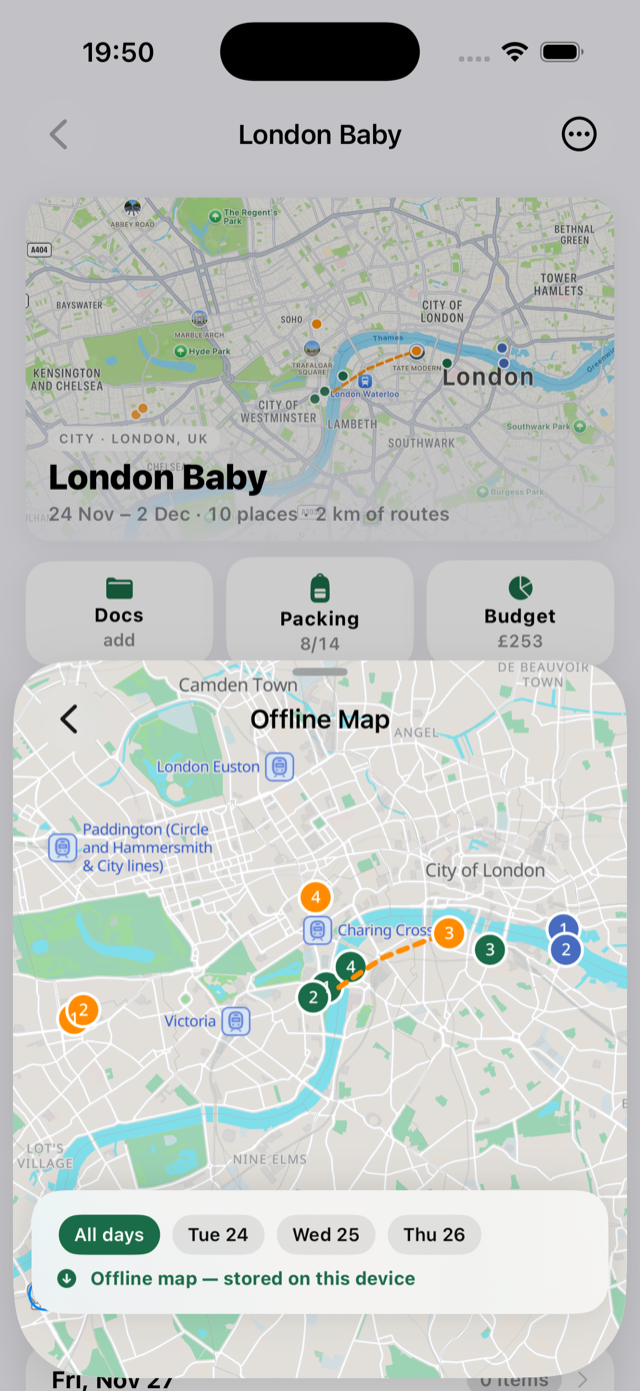
Download a trip's map once and it keeps working with no internet at all — streets, labels, your pins and walking routes. The map covers everything the trip pins down, with margin, and lives entirely on your phone. A city is roughly 10–40 MB.
- Open the trip and tap the ⋯ button, top right.
- Tap Offline Map…, then Download Offline Map — best on Wi-Fi.
- That's it. When you're offline, opening the trip map shows the offline map automatically. You can also open it any time from the same sheet.
- Changed the plan? Update Map re-downloads around the new places. Remove Download frees the space.
It also shows where you are, and points the way. Satellite positioning is receive‑only, so your phone still knows its position in Airplane Mode or abroad with data switched off — it simply takes a little longer to find it the first time. On the offline map, tap one day along the top: a dot marks you, and an arrow with a distance points at your next stop on that day.
It is a direction and a distance, not turn‑by‑turn. The arrow points straight at the place, through whatever is between — so follow the walking line already drawn on the map, and use the arrow to check you are still going the right way. Walk within 25 metres and it moves on to the next stop by itself.

Try it before the trip: download, switch on Airplane Mode, open the map.
Walking directions, on your own map
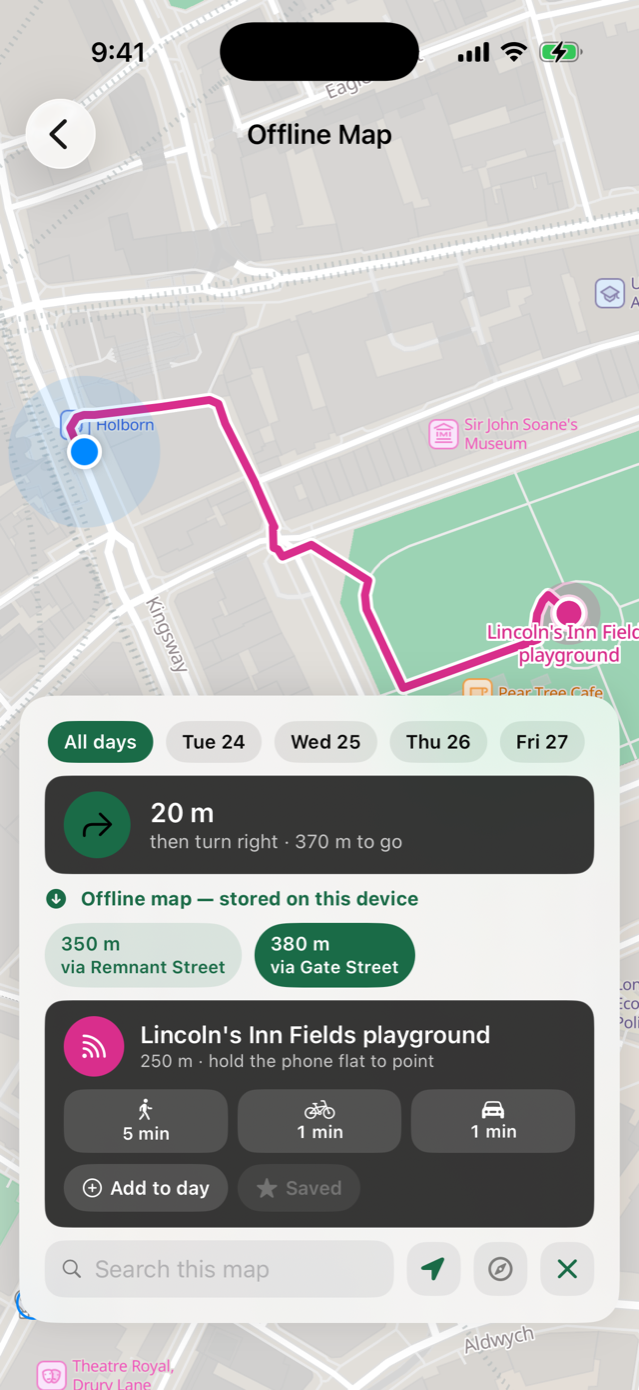
Every place in your day has a Directions button. Choose Apple Maps, Google Maps or Waze and Camipack hands over the destination and gets out of the way — or choose Camipack and the walk is drawn on the trip's own downloaded map.
- Open a place from the day and tap Directions.
- Pick Camipack for a walk on the trip's map, or one of the other apps for a drive with live traffic.
- No map downloaded yet? The screen says so and offers the download — the walking line appears there as soon as it lands.
A couple of ways to go. Where there is more than one sensible route, Camipack offers them side by side with the distance for each, named by the street that tells them apart. Tap one and the line redraws.
Distances, never times. The downloaded map has no traffic and no turn restrictions, so an estimate in minutes would be a number dressed up as a fact.
The walking route is read from the downloaded map, so it works in Airplane Mode.
Plan together, sync everywhere
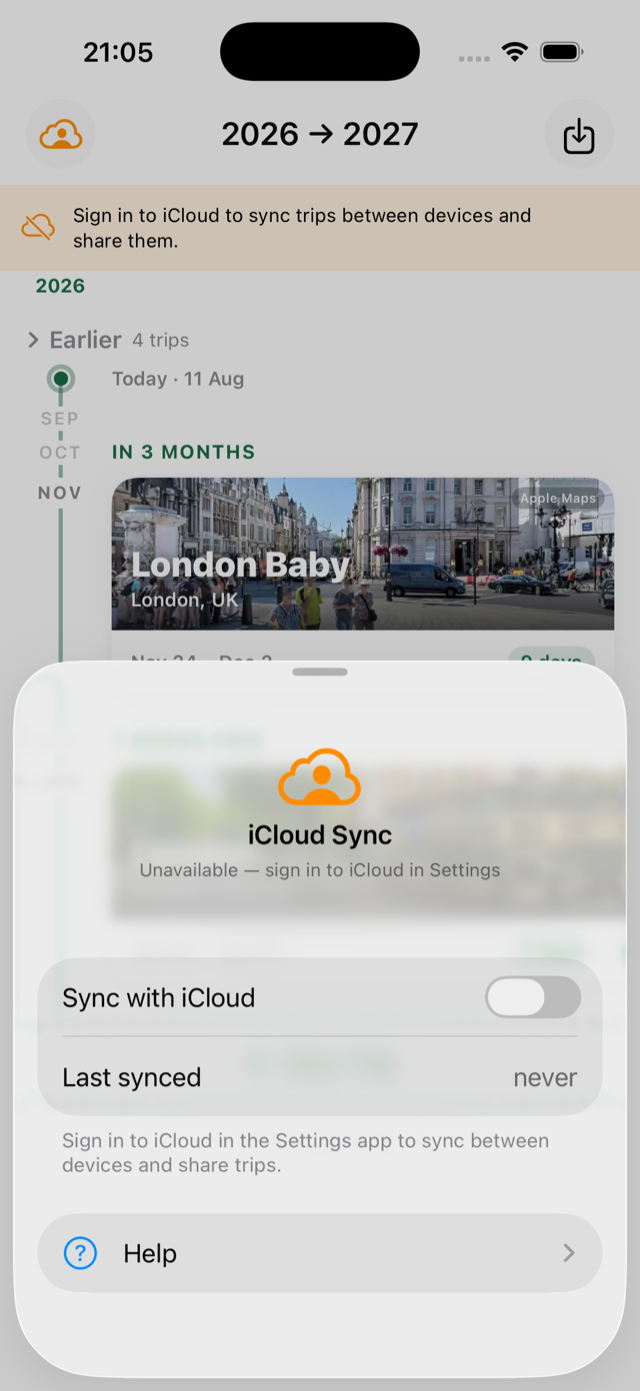
Share a trip and everyone on it edits the same plan — changes appear on everyone's phone within moments, with a badge showing who changed what. Sync runs through your own iCloud; Camipack has no servers.
- Open the trip → ⋯ → Share Trip, and send the invitation (Messages works best).
- The person you invited taps the link, then Join Trip.
- The cloud pill on the home screen shows sync status — tap it for details or to pause syncing.
- To end sharing: same menu → Stop Sharing.
Packing, per person
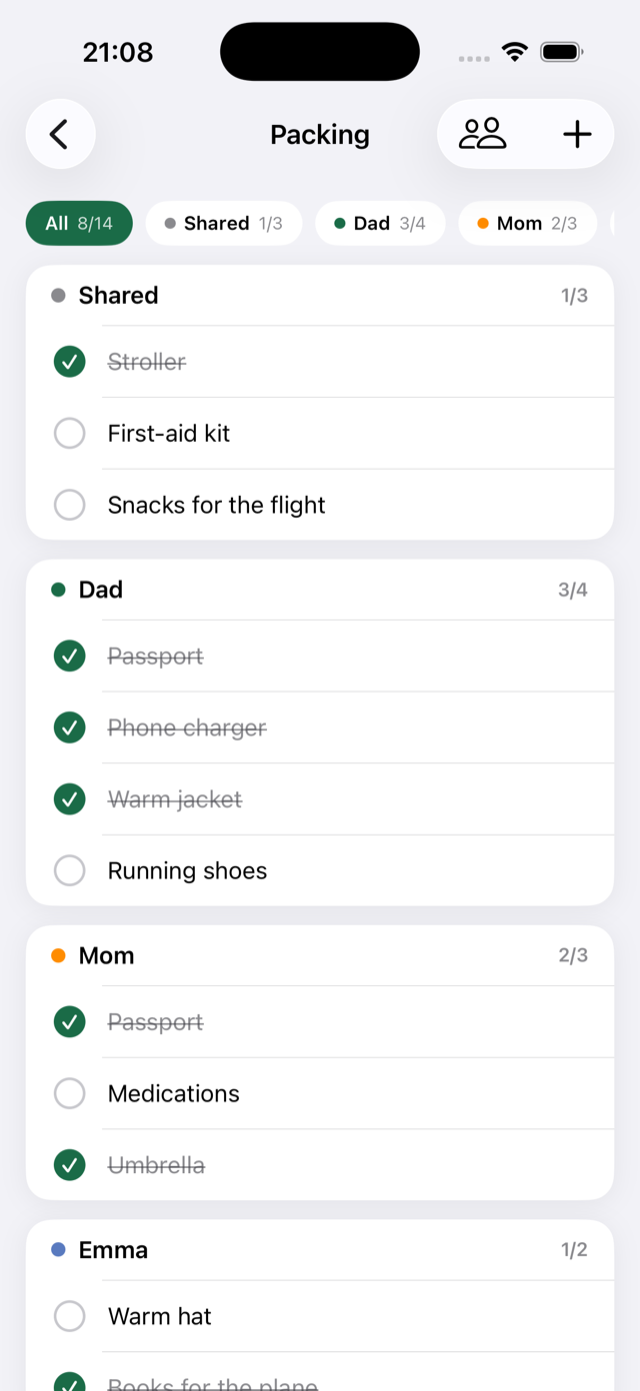
One shared list for the trip plus a personal list for each traveller, color-coded. Counts roll up so the trip screen always answers "are we packed?" at a glance.
- Open a trip and tap Packing — the middle of the three buttons under the map.
- The shared list opens first; tap a name to switch lists.
- Tap + to add an item, tap an item to check it off.
Budget in any currency
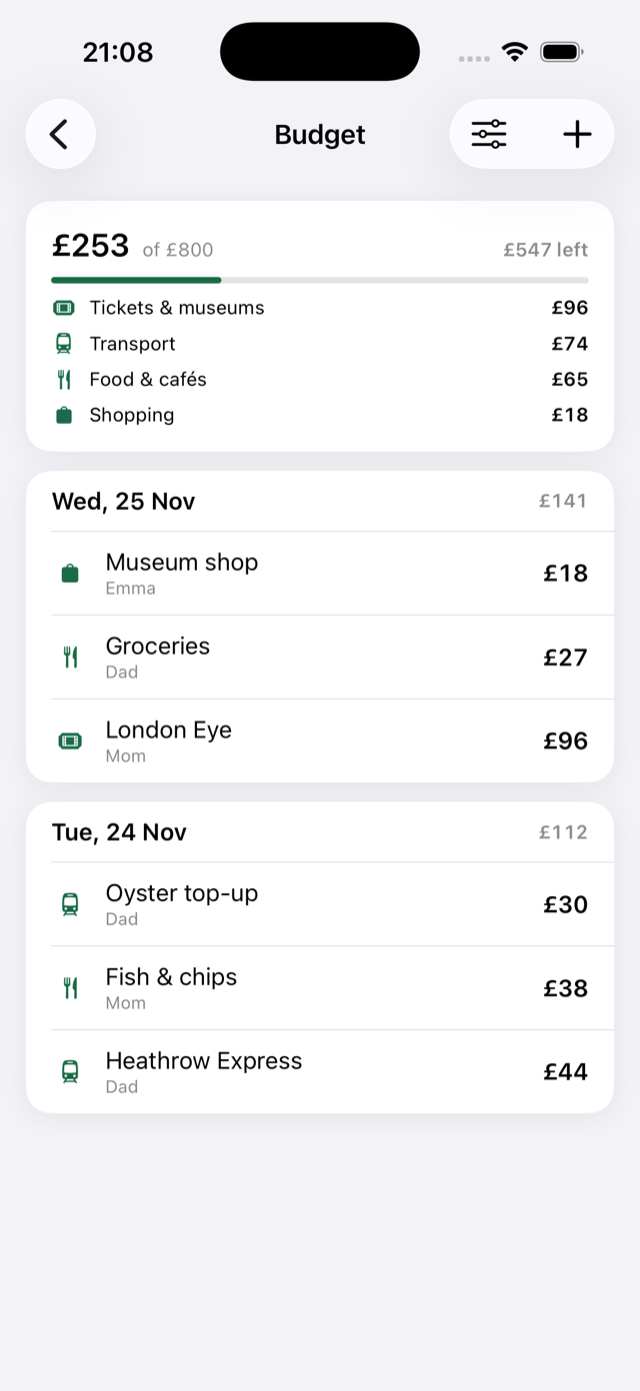
Track costs as you plan and as you go. Record what you paid and in which currency — hotel in euros, museum in pounds — alongside what it counts as in your trip's currency. Camipack keeps both, and the totals stay in one currency.
- Open a trip and tap Budget — the last of the three buttons under the map.
- Tap + to add an expense with amount and category.
- Pick the currency right in the add screen — every expense can use a different one.
Split it, or keep one purse. Travelling with friends? Split any expense equally, by shares, or by exact amounts, and Camipack works out who owes whom in the fewest payments. Travelling as a family, keep one purse and none of that appears.
Photograph the receipt. Point the camera at a till receipt and Camipack reads the total, the shop and the date, then opens a filled-in expense to check before you save it. It shows the other figures it saw, so a wrong total is one tap to fix. The reading happens on your phone — no photo is uploaded anywhere.
The whole trip on one map
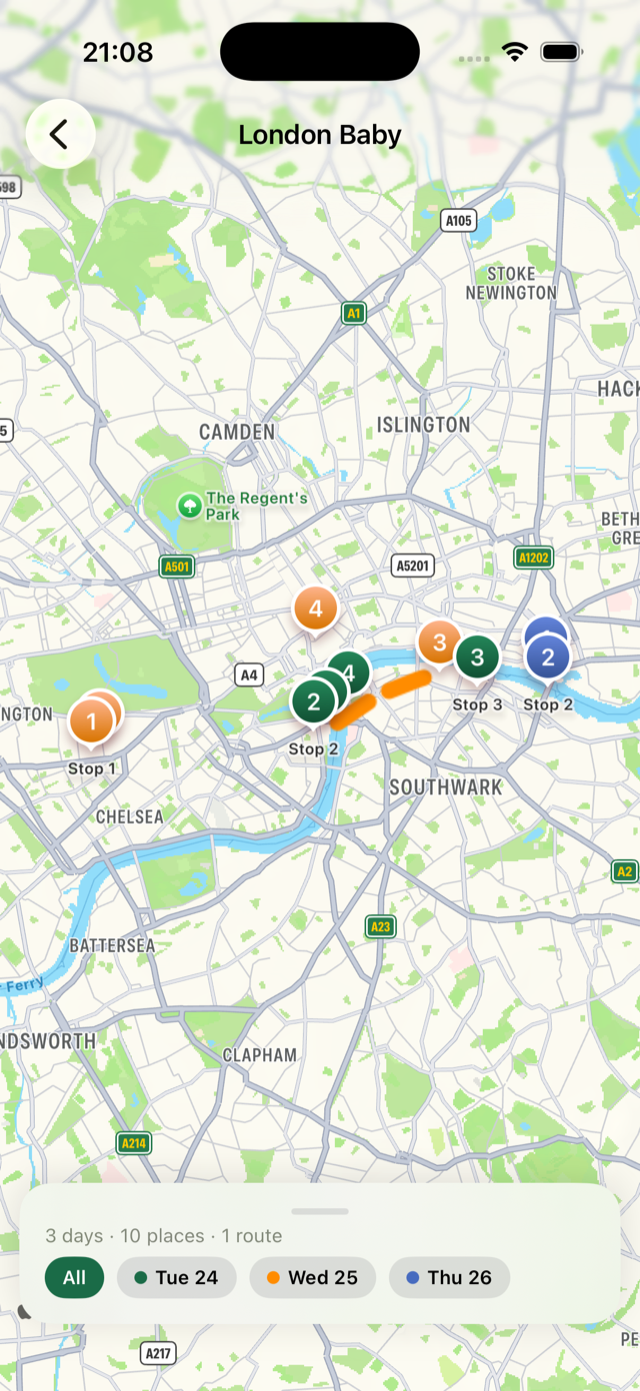
Every located activity from every day, pins and route lines tinted per day so Tuesday never blurs into Wednesday. Filter to a single day with one tap.
- Open a trip and tap the big map at the top.
- Tap a day chip to focus that day; tap again for all days.
- Tap any pin to see which stop it is.
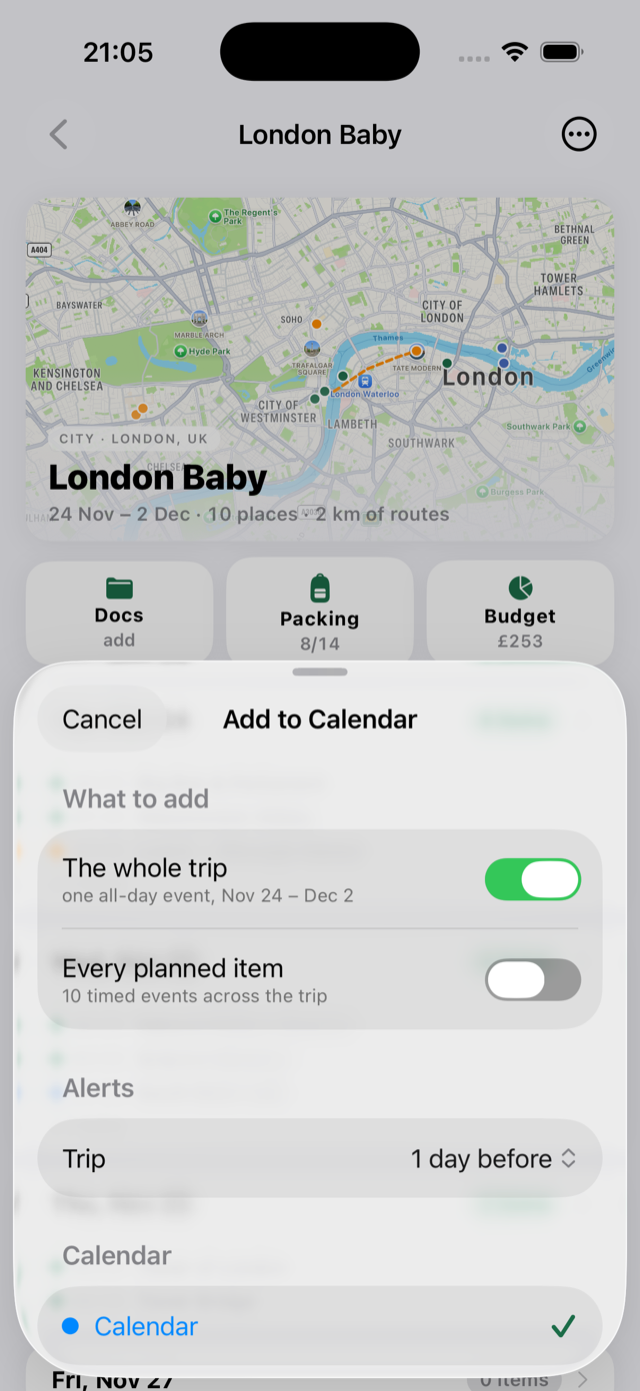
Into your calendar
Put the trip where you already look: one all-day banner across the trip, and optionally every timed activity as its own event with an alert.
- Open the trip → ⋯ → Add to Calendar.
- Choose what to add and pick the alerts.
- Pick the calendar and confirm. Re-adding later updates events instead of duplicating them.
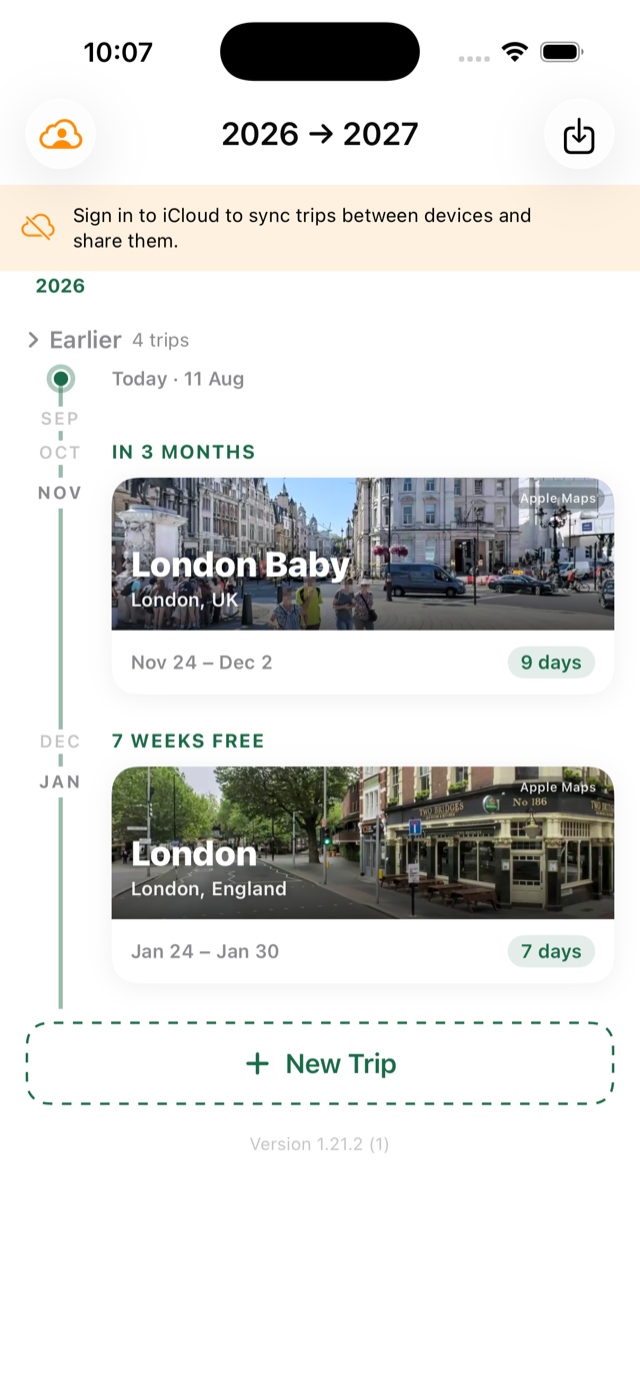
A year of trips at a glance
Home is a timeline, not a table: your trips in order, with photo cards, countdowns ("IN 3 MONTHS"), and the free gaps between trips — which is exactly where the next plan starts.
- Scroll the year; tap any trip card to open it.
- Tap + New Trip to fill a gap.
- Add the widget to your Home Screen: long-press → Edit → Add Widget → search "Camipack". One tap opens the trip it shows.
Trip Recap: the trip as a video
When the trip is over, Camipack turns your photos into a vertical 9:16 video. The map shows where each photo was taken and draws the roads between the places. Prefer something still? Make a photo collage instead. Making and sharing a recap is free.
- From 17:00 on the last day, a Trip Recap card appears on the trip screen and stays for two weeks. Once the trip has started, it's also under ⋯ → Trip Recap…
- Choose Video or Photo collage, then pick the photos.
- Share it through the iPhone share sheet to Instagram, TikTok, Messages or anywhere else. The video has no music of its own, so add a song in Instagram or TikTok when you post.
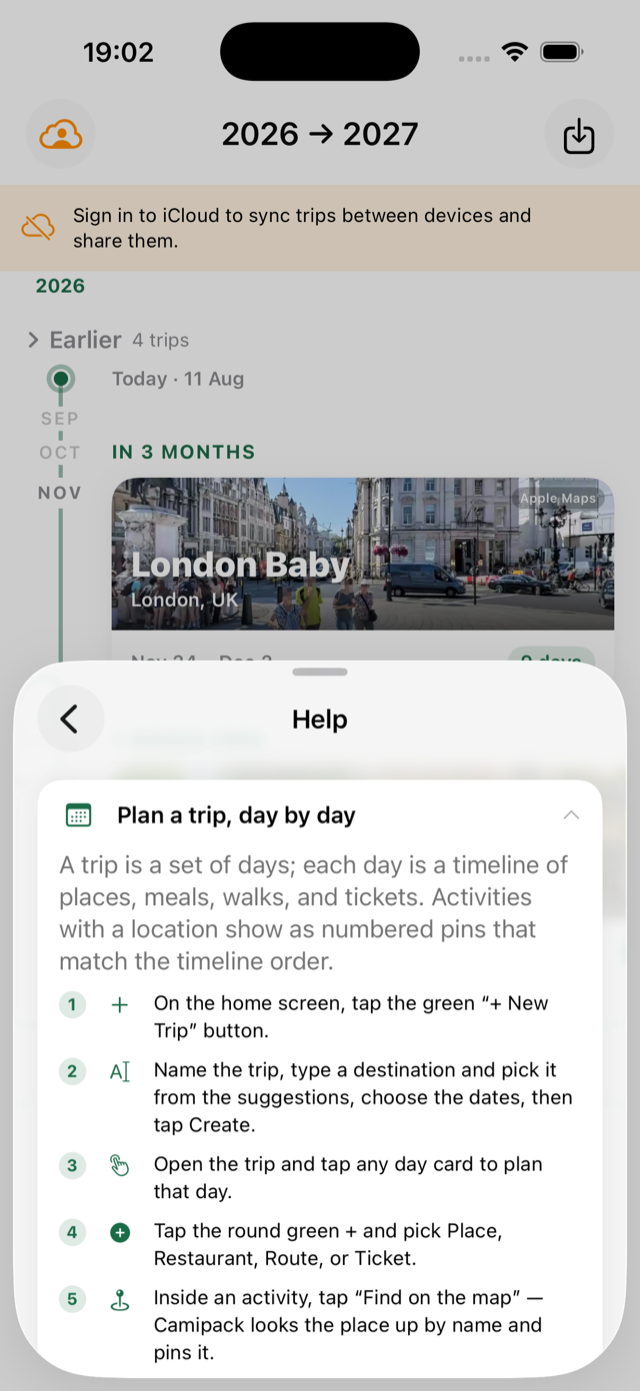
Help is built in
Everything on this page also lives in the app — tap the cloud pill on the home screen, then Help. Each topic is a numbered guide showing exactly which button to press, so nobody on the trip has to ask how anything works.
The app speaks English, German, French, Spanish, Portuguese and Russian, and iOS lets you set the language for Camipack alone without changing your phone.